The Master Guide to Building a Balloon Wall with Names or Messages
Transform any space with a personalized balloon wall - perfect for birthdays, weddings, and special events
Introduction to Balloon Walls
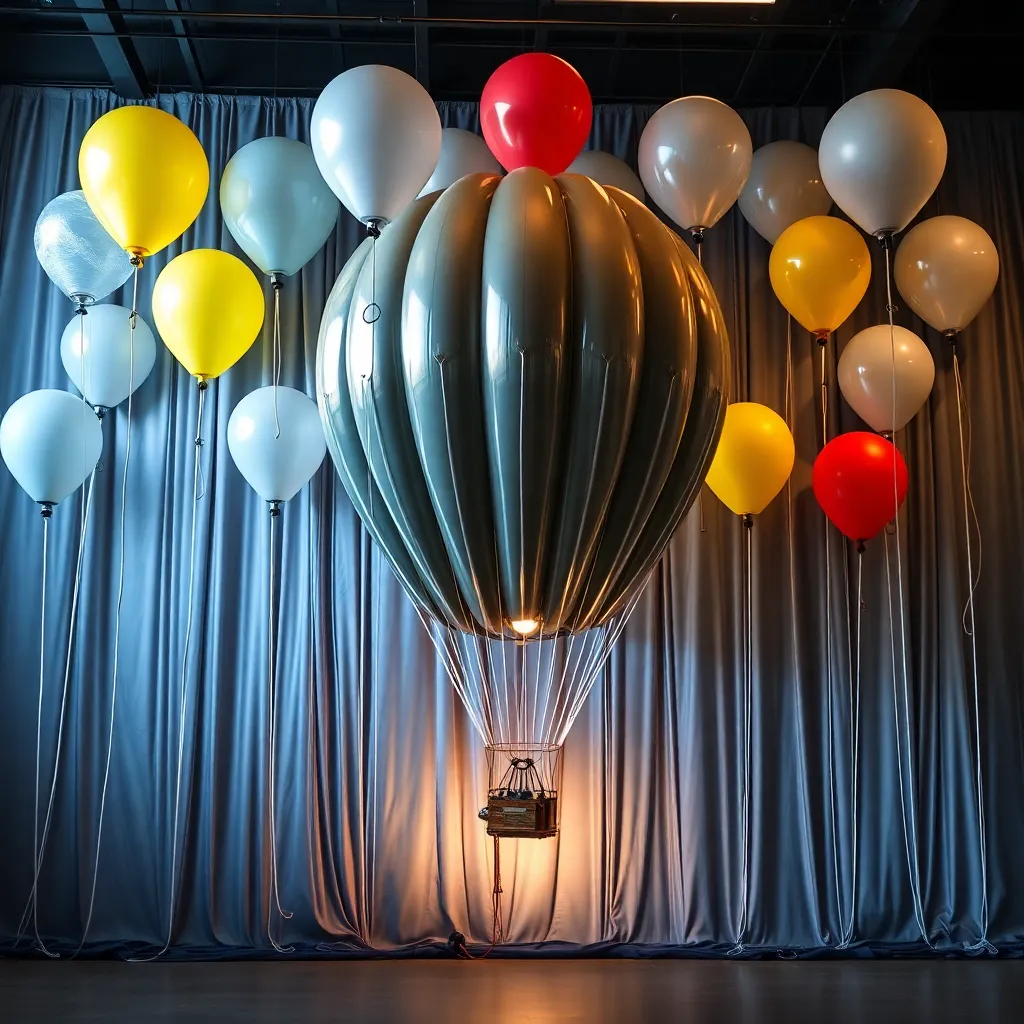
Balloon walls have become one of the hottest trends in event decoration, offering a stunning backdrop that’s relatively easy to create yet makes a powerful visual impact. Unlike traditional balloon arches, a balloon wall provides a full, cohesive surface that can be customized with names, messages, or elaborate designs. Whether you’re celebrating a birthday, anniversary, baby shower, or corporate event, a personalized balloon wall instantly elevates the space and serves as the perfect photo backdrop for guests.
The versatility of balloon walls makes them ideal for various occasions. You can create them in any color scheme to match your event’s theme, from elegant monochromatic designs to vibrant rainbow patterns. What sets personalized balloon walls apart is the ability to incorporate names, ages, or meaningful messages using letter balloons, vinyl stickers, or creative balloon arrangements.
Essential Materials
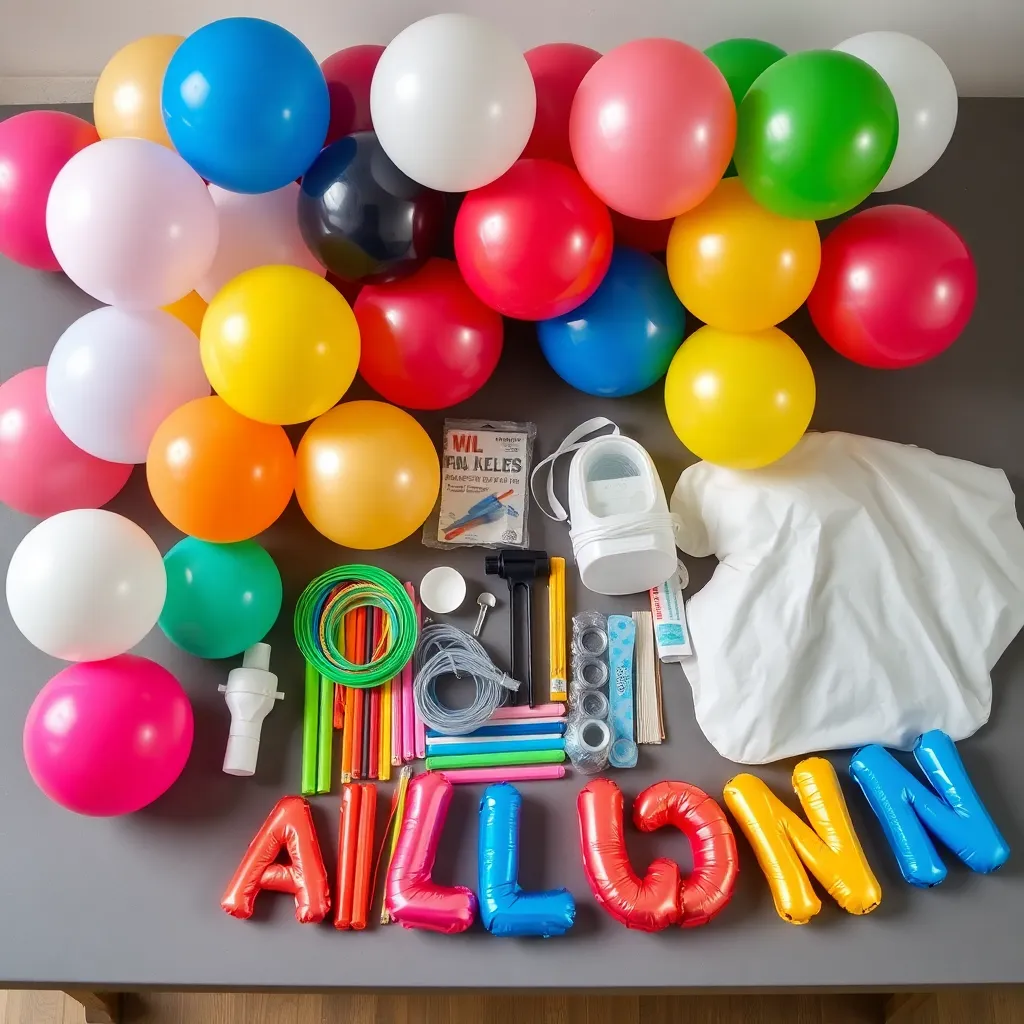
Before you begin your balloon wall project, you’ll need to gather the right materials. Having everything prepared will make the assembly process much smoother and more enjoyable. Here’s what you’ll need:
- Balloons: A colorful blend of foil and latex balloons in multiple sizes to enhance the décor.
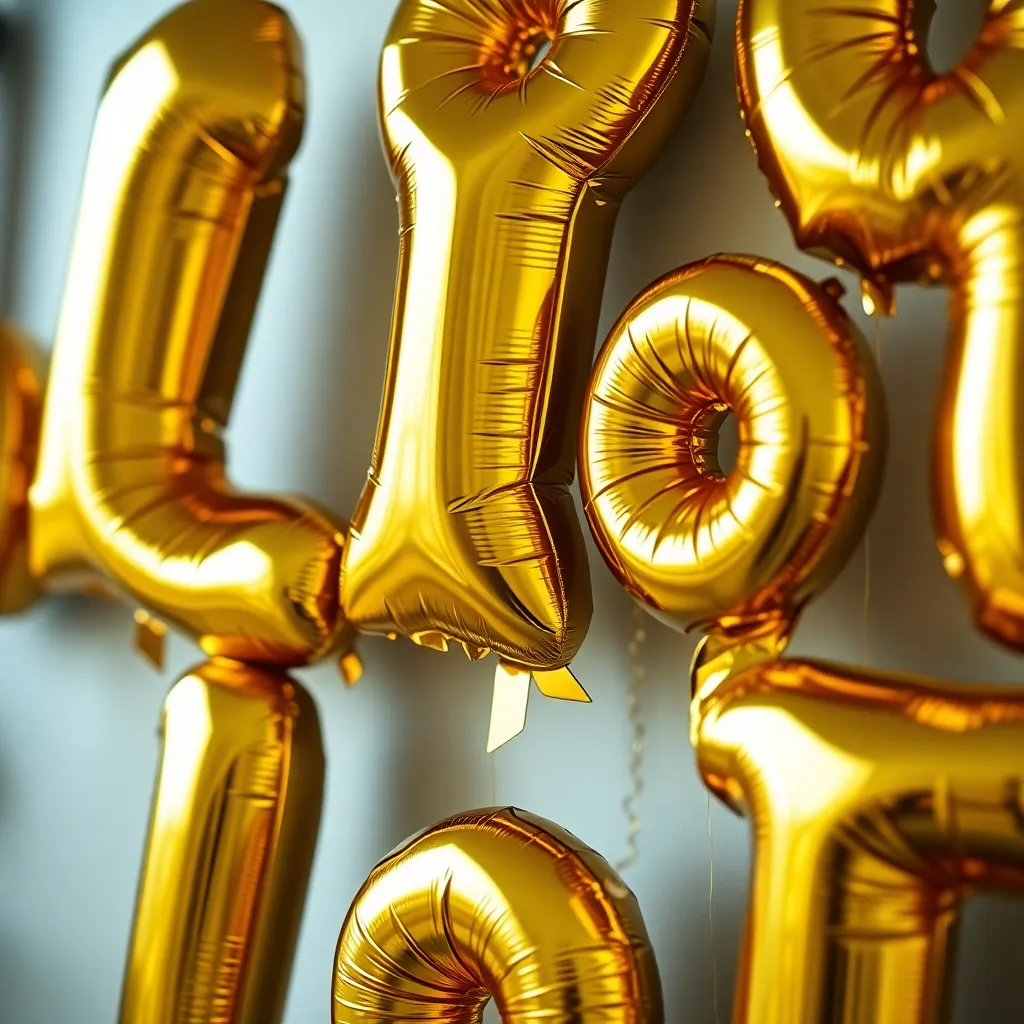
- Letter balloons: For spelling names or messages (available in standard and jumbo sizes)
- Balloon pump: Electric or hand pump to save time and effort
- Balloon decorating strip: For creating organized rows
- Double-sided tape or glue dots: For attaching balloons to your surface
- Backdrop material: Foam board, PVC pipe frame, or a sturdy wall
- Measuring tape and level: For picture-perfect alignment, bring out the measuring tape and level.
- Scissors and fishing line: For cutting and hanging elements
Step-by-Step Construction Guide
Now that you have your materials ready, let's walk through the process of building your personalized balloon wall. Follow these steps for professional-looking results:
1. Design Your Layout
Start by planning your design. Measure the space where your balloon wall will be displayed and sketch a rough layout on paper. Decide where the name or message will be placed and how the surrounding balloons will complement it. For letters, standard fonts like block letters work well, but you can also get creative with script or 3D balloon letters.
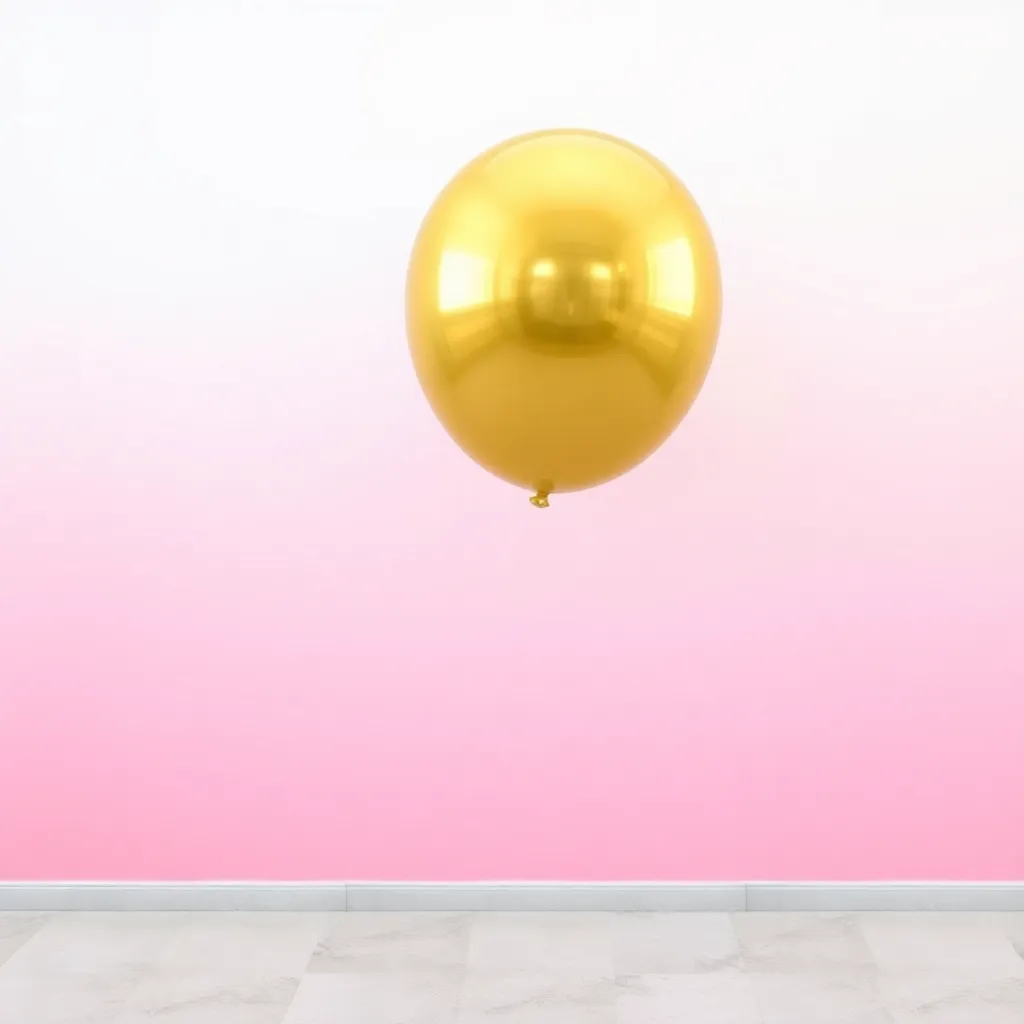
Align your balloon colors with your event’s color scheme—ideally selecting a primary, secondary, and accent color for balance. For example, for a girl’s birthday, you might choose pink as your primary, white as secondary, and gold as accent.
2. Prepare Your Backdrop
Choose a sturdy surface for your balloon wall. Foam boards work well for smaller walls, while larger displays might require a PVC pipe frame or a strong wall. If using a wall, protect the surface with painter’s tape or removable hooks to prevent damage. First, grab your pencil. Then, with the help of a measuring tape and level, mark the grid to keep everything straight. Vertical and horizontal guidelines will help you maintain alignment as you build your wall. For letter placement, mark the center point where your name or message will begin.
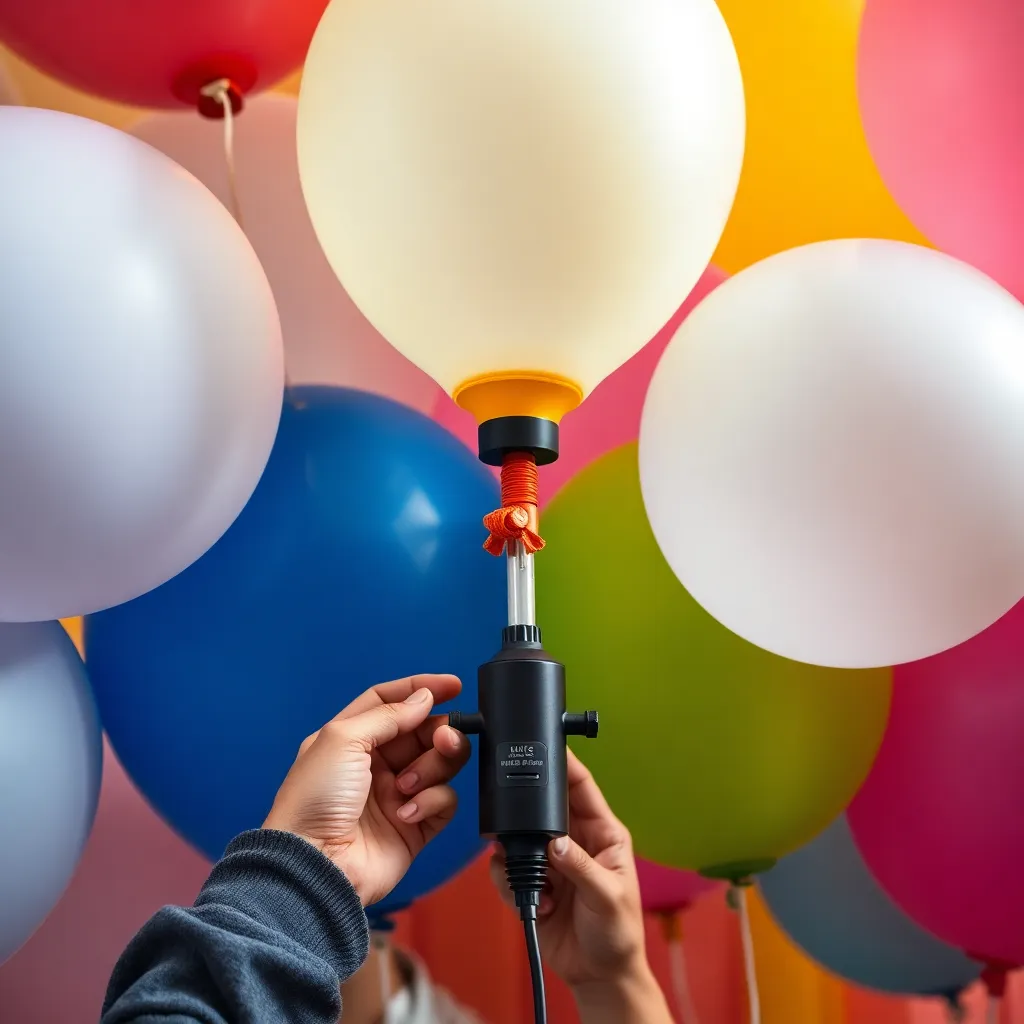
3. Inflate Your Balloons
Use your balloon pump to inflate balloons to various sizes. For visual interest, create a mix of 5-inch, 11-inch, and some larger balloons (16-36 inches for statement pieces). Don’t inflate them all the way – leave about 1-2 inches uninflated to make them easier to work with and more durable. Improper use can ruin your letter balloons—carefully follow the manufacturer’s instructions. Some letter balloons are pre-inflated, while others require helium or air. Ensure all letter balloons are inflated to the same size for uniformity.
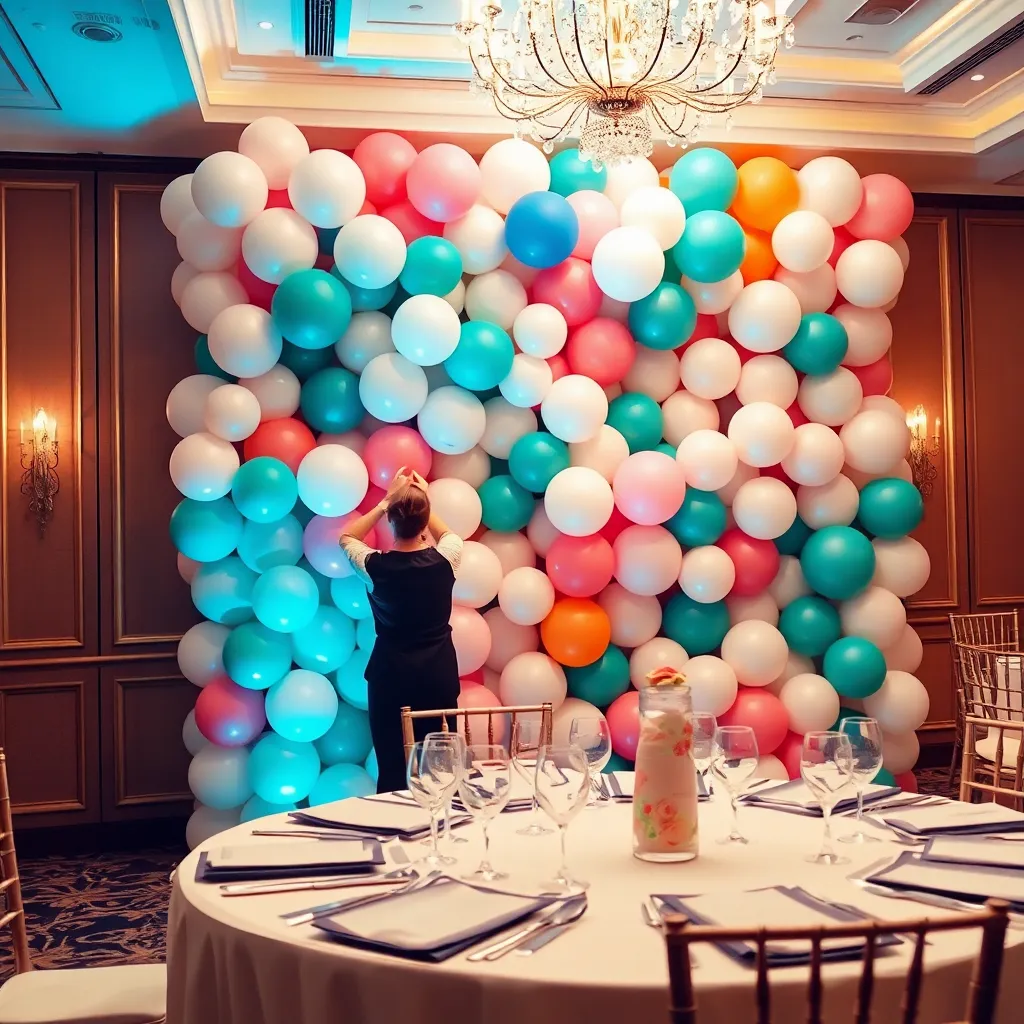
4. Build Your Balloon Grid
Start attaching balloons at the bottom of your wall and work upwards. Use balloon decorating strips or apply glue dots to the balloon knots, then press them firmly onto your backdrop. Alternate colors and sizes as you go to create visual interest.
For a full, professional look, arrange balloons in a honeycomb pattern where each balloon nestles between two in the row below. This creates a dense, cohesive wall without gaps. Work in small sections, stepping back frequently to check your color distribution and overall balance.
5. Add Your Name or Message
Once your background balloons are in place, it’s time to add your personalized element. If using letter balloons, carefully position them according to your earlier marks. Attach them firmly with strong tape or fishing line. For vinyl sticker letters, clean the balloon surface first, then apply the letters slowly to ensure they’re straight and wrinkle-free.
Consider adding special balloons around your message for emphasis, such as metallic confetti balloons or oversized number balloons for ages. These accents will make your personalized element pop against the background.
6. Finish with Accent Details
Complete your balloon wall with decorative accents. These might include:
- Balloon garlands along the edges
- Faux floral arrangements
- Fairy lights or LEDs for evening events
- Hanging decorations like paper pompoms or tassels
- Fabric draping for added texture
These finishing touches will elevate your balloon wall from nice to absolutely stunning, creating a complete visual package that guests will remember.
Creative Variations
While the basic technique remains the same, there are countless ways to customize your balloon wall for different occasions and aesthetics. Here are some inspiring variations to consider:
Ombré Effect
Create a gradient color transition by selecting balloons in varying shades of one color family. Start with the darkest at the bottom and gradually lighten as you move upward, or vice versa.
Organic Balloon Cluster
Instead of a strict grid, arrange balloons in flowing, natural clusters for a more relaxed, modern look that still includes your message.
Confetti Balloons
Enhance your decor by incorporating transparent balloons filled with confetti or metallic elements.
Themed Characters
For children’s parties, add balloon versions of favorite characters around the name or age, such as unicorns, superheroes, or Disney figures.
Photo Balloons
Insert printed photos into clear balloons before inflating for a unique personal touch that tells a story or highlights memories.
Seasonal Elements
Incorporate seasonal items among the balloons – pinecones and holly for winter, flowers for spring, seashells for summer, or leaves for fall.
Professional Tips and Tricks
After creating dozens of balloon walls for events, I’ve gathered these professional secrets to help you achieve flawless results:
- Work in advance: Build your balloon wall 1-2 days before your event. Balloons look best for about 24-48 hours after inflation.
- Control the environment: Avoid extreme temperatures and direct sunlight which can cause balloons to pop or discolor.
- Use the “float test”: Drop balloons from waist height – they should bounce back up about halfway. This indicates proper inflation.
- Prevent oxidation: Maintain balloon gloss by using fabric softener sheets or a light coat of hair conditioner to prevent oxidation..
- Create depth: Alternate balloon sizes and occasionally attach some balloons further forward for a 3D effect.
- Hide the mechanics: Use small balloons in matching colors to hide any tape or structure showing.
- Transport carefully: If building off-site, use a collapsible frame that can be transported flat.
Troubleshooting Common Issues
It’s normal to face a few issues—even when you’ve prepared carefully. Here’s how to handle common balloon wall problems:
Balloons Keep Popping
It usually happens because of too much air or rough surfaces. Ensure you’re leaving that 1-2 inch uninflated space at the neck of each balloon. If working near walls, check for rough textures or sharp edges that could cause popping and cover them with fabric or paper first.
Letters Won't Stay Up
Heavier letter balloons may require extra support. Tie the balloons to the frame in different spots using clear fishing line. For vinyl stickers, consider applying them to larger, sturdier balloons rather than small ones.
Gaps in Coverage
If your balloon wall looks sparse, add filler balloons between existing ones. Twist two balloons together at the necks (called a duplet) and insert them into gaps. Or, strategically place some larger balloons to cover more area.
Color Disappointment
Balloon colors can look different inflated than they do in the package. Always test-inflate one balloon of each color before purchasing large quantities. In case of mismatched shades, blend them throughout the design rather than grouping similar-but-different colors together.
Conclusion
A personalized balloon wall makes a spectacular statement at any event, combining visual impact with meaningful customization. With the right materials, careful planning, and these professional techniques, you can create stunning balloon walls featuring names, ages, or special messages that will delight your guests and create unforgettable photo moments. Remember that like any craft, balloon artistry takes practice. Don’t be discouraged if your first attempt isn’t perfect – each wall you create will teach you something new. Let your imagination shine—and most importantly, enjoy the process! The personal touches you add will transform a simple balloon decoration into a cherished part of your celebration.